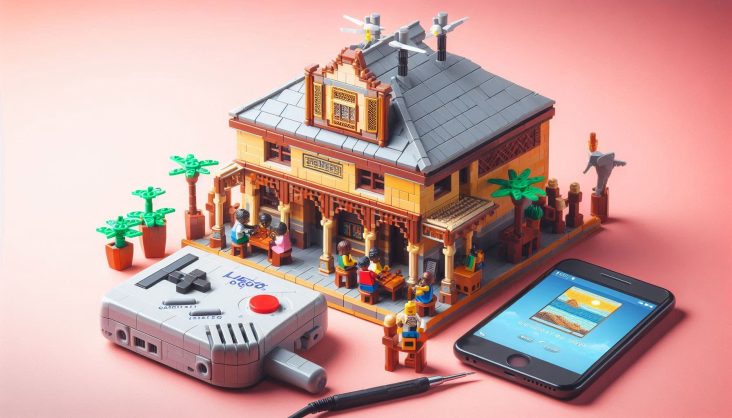
The Gameboy, a timeless symbol of handheld gaming, has remained an iconic part of gaming history for decades. Combining this retro charm with the limitless creativity of Lego results in a unique and nostalgic project a custom Lego Gameboy. Whether you’re a Lego enthusiast, a gamer, or someone seeking a creative project, building a custom Lego Gameboy is a rewarding challenge. Here’s how you can embark on this fun and nostalgic journey.
Step 1: Gather Inspiration and Materials
Before diving into the build, take time to research and plan. Look at photos of classic Gameboy models—whether it’s the original Gameboy, Gameboy Color, or Gameboy Advance. Decide which model you want to recreate.
Materials Checklist:
- A variety of Lego bricks (preferably in shades of grey, white, or any color resembling the Gameboy model of your choice).
- Small, flat Lego tiles for buttons and screen detailing.
- Transparent pieces for the screen (optional for added realism).
- A Lego baseplate for structural support.
For authentic design inspiration, search for existing Lego Gameboy builds online or explore Lego forums and social media platforms.
Step 2: Plan Your Design
Building a custom Lego Gameboy requires a clear design plan. You can either:
- Sketch Your Design: Draw a simple blueprint outlining the Gameboy’s proportions and details like buttons, the D-pad, and the screen.
- Use Lego Design Software: Tools like Lego Digital Designer or BrickLink Studio allow you to virtually plan your build before assembling physical pieces.
Pay attention to the dimensions, as your model should closely resemble the rectangular shape of the actual Gameboy.
Step 3: Construct the Base
Start with the foundation of your Gameboy the rectangular body. Use flat Lego pieces for the front and back panels, ensuring they are sturdy and well-aligned. Build the sides layer by layer to create depth. Leave gaps or spaces for the screen and buttons.
Step 4: Add the Screen and Buttons
The screen and buttons are essential for capturing the essence of the Gameboy:
- Screen: Use smooth, flat tiles to create the rectangular display. Transparent tiles or black tiles work well for a retro look.
- Buttons: Add small circular or square tiles for the A, B, Start, and Select buttons. Use a cross-shaped piece for the D-pad.
For extra realism, consider incorporating hinges or Technic pieces to make the buttons slightly movable.
Step 5: Customize and Add Details
Personalize your Lego Gameboy with creative touches:
- Logo and Branding: Use printed Lego tiles or custom decals to add the “Nintendo Gameboy” logo.
- Cartridge Slot: For added authenticity, design a cartridge slot at the back and create a removable Lego cartridge.
- Accents: Add subtle detailing, like volume controls or speaker grids, using small, textured bricks.
Step 6: Display Your Creation
Once your Lego Gameboy is complete, find the perfect spot to showcase your work. Consider building a stand or creating a themed display with other retro gaming elements like Lego versions of cartridges or controllers.
Step 7: Share Your Build
Lego projects are a great way to connect with fellow enthusiasts. Share your Lego Gameboy on social media, forums, or dedicated Lego communities like Reddit’s r/lego or Instagram hashtags like #LegoGaming. You might inspire others to embark on their own retro Lego journey.
Why Build a Custom Lego Gameboy?
Recreating a Gameboy with Lego is more than just a project it’s a way to celebrate the intersection of two nostalgic hobbies. It allows you to revisit the magic of handheld gaming while exercising your creativity. Plus, it’s a conversation starter and a stunning piece to add to your collection.
Final Thoughts
Whether you’re a lifelong Gameboy fan or someone who loves Lego challenges, building a custom Lego Gameboy is an unforgettable experience. It’s a chance to pay homage to the golden era of gaming while creating something entirely unique. So, gather your bricks, unleash your creativity, and bring the Gameboy back to life brick by brick!


