
If the login and configuration tips you have taken do not resolve the issues regarding the devices login and Setup, then probably the article will help you.
If the Orbi user fails to log in using one technique then there isn’t any problem. As there are many more techniques.
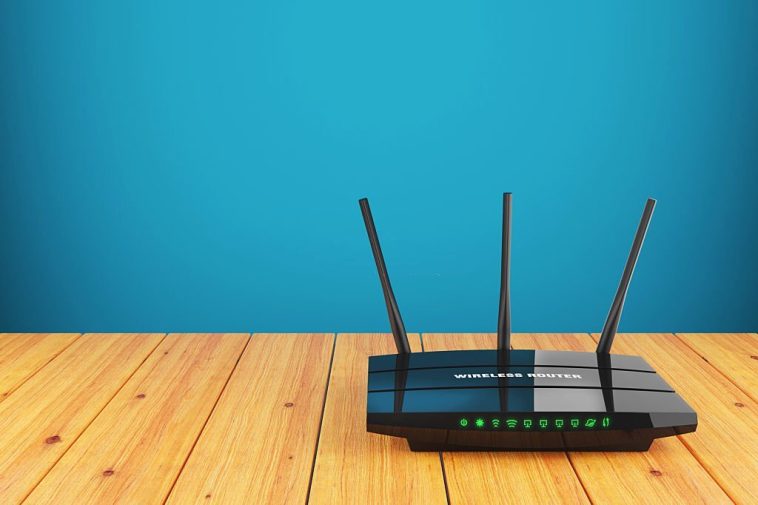
Access The Web Interface Of Orbi
Just set up the device using a web interface for Orbi Login and easy configuration of the device. While using the ethernet cable connect the Orbi device to the existing modem. Plug the power adapter and switch on your Orbi device. Connect the Android device or the Windows to the device networks of the Orbi. Once the web crawler is launched on the device that is connected to your Orbi network go to the Orbi Admin login page. For other details enter orbilogin.com. If you are an existing Orbi user then you need to add the details of the device. Then, put in your default credentials. First, you need to choose the network name and then password, as well as set up security options. Make the necessary changes after completing the setup through the Wizard setup of the Orbi. While you can complete the process log in to the web interface’s advanced settings. To get more WiFi coverage add the satellites to the Orbi device. You need to save the settings of the device of the new wireless internet connection.
Start The Orbi Setup With The Steps
At the beginning of the Setup procedure access the Orbi login page by using the web browser. As it is necessary. Open Chrome or some other browser like Firefox. Type orbilogin.com into the search window of the browser. Select the enter button on the keyboard to log in to the Orbi device log-in page. For further results add the Orbi Login credentials meanwhile click on the login button. Hope you can easily access the Orbi Logi web interface as well.
Note: We recommend downloading the Orbi app as well, from the device app store.
After downloading the app follow the further given process.
Login Through The IP Of Web Browser
A device linked to a router will open the internet browser.
Further type 192.168.1.1 for the Orbi login router as well.
It’s time to put the Username and Password of the device which is “Admin”.
Both the credentials should match the Username and the Password of the device.
The password is the one you choose only when you are up to set up the system. It was the last setup method of the Orbi device through an IP address.
Orbi Login Through Web Address
Do you find it hard to access the Orbi Login? Choose the sign-in option through the browser for your Orbi device. Do not forget that you are using a web address so use orbilogin.com. If you want to reach the portal of the Orbi.
- First, attach the Orbi router to the extender.
- Therefore switch on the PC or the Laptop for further processing.
- Then access the web page. Here the orbilogin.com details are necessary to be entered.
- The login screen will open up on your device screen.
- Finally, tap on the Orbi Login admin details of the device.
Update The Old system
When you are on the old device then you need to change or update the device. If the system is old then check the windows of your computer and laptop first. If they are old then change them with the one. However, if the computer and Laptop are more than 10 years old, we recommend changing them. Just buy a new one now. As sometimes by default new configurations will anyhow not be able to add to them.
If the router is not performing well it might be because of the old firmware so update it. By going into the downloads and then, saving the file by adding a new configuration.
For Network Connection Check The Existing Extender Connection
When you are up with a bad setup of the extender. Then, also this happens you fail to reach the range extenders login page. Although we are describing you with two methods. While starting the process make sure your Extender Login device is in connection with the WiFi network.
To start with the process just take a swift check on the compatibility of the existing extender. Thereafter, you can easily get the Orbi App on your screen. Therefore, connect the WiFi Range extender and the device. After that, open the App and go to the login box on the screen. You need to enter the password and username if you are logging into the app for the first time. Also, you should create a new password and username. Do not use any special characters for security reasons. For your web interface, the App will use the same login credentials.
Keep in mind these points while doing the process. Do not forget to place the main router near the extender for device Login. Therefore, wait once you have put the extender in the socket. Only you need to wait for the LED Light to solidly blink on the extender.
No Stable Lights On The Device Reset
When you stop getting Lights on the Orbi device. Then you just need to switch on the button on the device and connect both ends of the device with ethernet. Just wait and move the device as the Reset button will be at the back panel of the router. Press it well with the help of a pen. Make sure not to press it for more than 10-20 seconds. If the LED lights on the device are strong then the setup is successful. But in case it is still blinking then the setup will be done easily. So just take on more tours and repeat the process.
We hope the Login of the device is complete here. If not, then contact our experts.